How to Install a PrimAlux Aluminum Privacy Fence
Posted by Steven on June 15, 2026
Installing a PrimeAlux aluminum privacy fence is a straightforward process for both contractors and experienced DIY homeowners. The system offers multiple installation methods, including underground, drivable-post, and concrete-surface installations.
By properly preparing the foundation, installing rails and slats correctly, and performing a final inspection, homeowners can create a durable, low-maintenance privacy fence that enhances security, privacy, and curb appeal while providing long-lasting performance.
Why Choose a PrimeAlux Aluminum Privacy Fence?
A privacy fence adds more than just visual separation between properties. It helps create a secure outdoor environment for children and pets, improves comfort when entertaining outdoors, and can even increase property value.
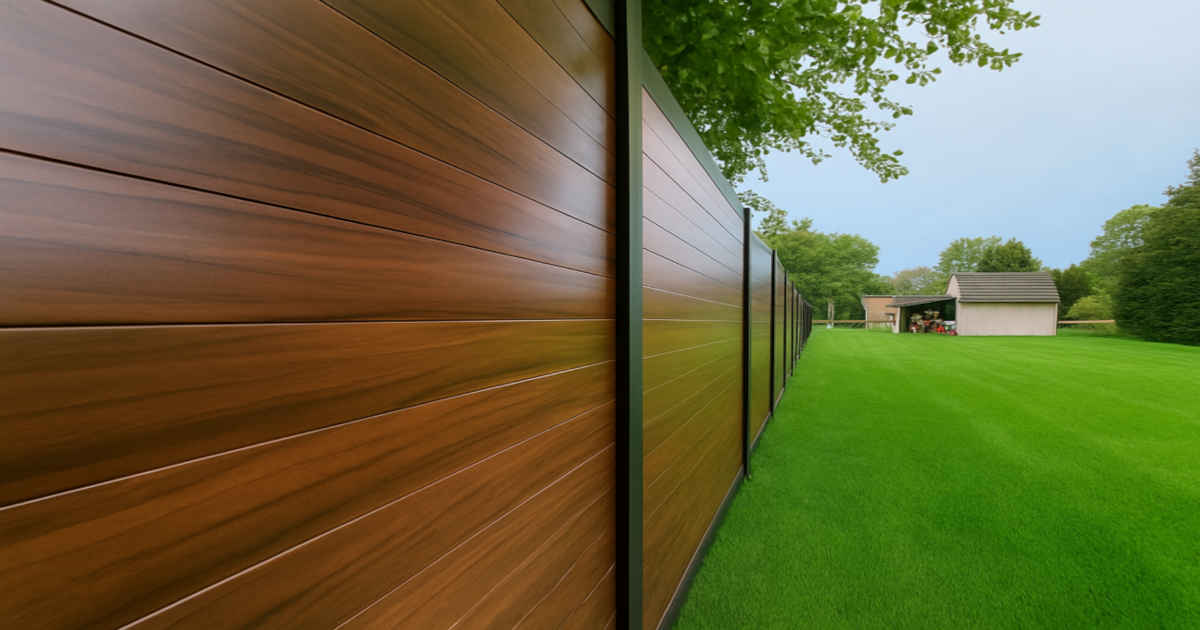
PrimeAlux aluminum privacy fencing combines modern design with exceptional durability. Unlike traditional wood fencing, aluminum will not rot, warp, crack, or require regular staining and painting. The system is engineered for efficient installation and long-term performance, making it a popular choice for homeowners and contractors alike.
Whether you are installing a fence around a backyard, pool area, patio, or outdoor living space, PrimeAlux offers an attractive and low-maintenance solution.
Before You Begin Your PrimeAlux Fence Installation
While many homeowners can successfully install a PrimeAlux privacy fence themselves, proper preparation is essential.
Before starting your project:
- Carefully review all manufacturer instructions.
- Verify that all components and hardware are included.
- Confirm property boundaries.
- Check local building codes and permit requirements.
- Contact utility locating services before digging.
Taking these steps before installation can help prevent delays and costly mistakes.
Tools Required for PrimeAlux Fence Installation
Gather all necessary tools before beginning:
- Drill
- Level
- Screwdriver
- Measuring tape
- Safety glasses and gloves
- Drivable posts (optional)
- Post driver (optional)
- Concrete mixing materials (if applicable)
Having the correct tools readily available helps ensure a smoother installation process.
Step 1: Prepare the Fence Foundation
PrimeAlux fencing offers multiple installation methods to accommodate different property conditions and surface types.
Underground Fence Post Installation
For traditional ground installations:
- Dig a hole for the fence post foundation.
- Position the fence post inside the hole.
- Ensure the top of the angle bracket aligns with ground level.
- Use a level to verify the post is perfectly plumb.
- Pour concrete into the hole to secure the post.
- Confirm the fixed angle bracket remains level with the surface.
- Place the base cover over the completed foundation.
- Insert the bottom spacer into the post channel.
- Repeat the process for all remaining posts.
This method provides excellent stability and is commonly used for residential fence installations.
Drive Method Fence Installation
The drivable post method is ideal for certain grass-covered areas and can simplify installation.
Follow these steps:
- Position the first drivable post in the desired location.
- Confirm the post is level before driving.
- Install a guidance post to maintain alignment.
- Use a post driver to drive the post approximately three feet into the ground.
- Insert the bottom rail to establish spacing.
- Position the second guidance post.
- Install the second drivable post.
- Remove guide components once alignment is complete.
This method can significantly reduce installation time in suitable soil conditions.
Concrete Surface Fence Installation
For patios, driveways, pool decks, and other concrete surfaces:
- Attach the base plate to the fence post using the supplied hardware.
- Position the base plate cover over the mounting hardware.
- Secure the post to the concrete using anchors or bolts.
- Insert the bottom spacer into the post channel.
This installation method provides a secure attachment when digging is not possible.
Step 2: Install the Bottom Rail
Once all fence posts are secure and properly aligned:
- Insert the bottom rail into the designated lower channels.
- Ensure the rail rests securely on the bottom spacers.
- Verify the rail is level across the entire fence section.
- Confirm both ends fit snugly within the posts.
Proper rail alignment creates the foundation for the remaining fence components.
Step 3: Install the PrimeAlux Fence Slats
The installation process varies slightly depending on the selected fence style.
Horizontal Aluminum Slat Installation
For horizontal privacy fencing:
- Insert the first aluminum slat above the bottom rail.
- Press the slat gently into place.
- Confirm the slat sits evenly within both post channels.
- Continue stacking additional slats one row at a time.
- Check alignment periodically throughout installation.
Continue until all horizontal slats have been installed.
Vertical Aluminum Slat Installation
For vertical privacy fence systems:
- Insert one post cover inside each fence post.
- Slide the covers to the bottom position.
- Insert the first vertical slat above the bottom rail.
- Ensure the slat sits flush within the channel.
- Install additional slats side by side.
- Insert spacers between each slat as required.
- Verify all slats remain evenly aligned.
Proper spacing ensures a professional appearance and optimal structural performance.
Step 4: Install the Top Rail and Finishing Components
After all slats have been installed:
- Attach the top rail to the rail bracket using pan head screws.
- Pre-drill all required holes before securing hardware.
- Insert top spacers into each post.
- Drill through the spacer and post where necessary.
- Secure spacers using the supplied screws.
- Install post covers over exposed openings.
- Attach the post caps to complete the fence section.
These finishing components provide structural support while creating a clean, finished appearance.
Final Fence Inspection Checklist
Once installation is complete, conduct a thorough inspection before considering the project finished.
Verify the following:
- All posts are level and secure.
- Rails are properly seated.
- Slats are evenly aligned.
- Fasteners are fully tightened.
- Post caps are installed correctly.
- Installation debris has been removed.
For additional product-specific guidance, refer to the official installation instructions included with your railing system. If you would like to read the instructions that come with the railing, click here.
PrimeAlux Fence Maintenance Tips
One of the biggest advantages of aluminum fencing is its low maintenance requirements.
To keep your fence looking its best:
- Rinse periodically with water.
- Wash as recommended by the manufacturer.
- Inspect hinges, gates, and hardware annually.
- Check fasteners after severe weather events.
- Remove dirt and debris as needed.
Routine maintenance can help preserve the appearance and functionality of your fence for many years.
Watch the PrimeAlux Installation Video
For additional visual guidance, review the official PrimeAlux installation video included on this page. Video tutorials can clarify installation details and offer tips for achieving professional-quality results.
Complete Your Outdoor Space with PrimeAlux Fencing
Installing a PrimeAlux aluminum privacy fence is an excellent way to improve privacy, security, and curb appeal while creating a more enjoyable outdoor living environment. With multiple installation options, durable aluminum construction, and minimal maintenance requirements, PrimeAlux fencing provides long-term value for homeowners and contractors alike.
By carefully following the installation steps, confirming proper alignment throughout the project, and performing routine maintenance, you can enjoy a beautiful and durable privacy fence for years to come.
FAQs
Can I install a PrimeAlux privacy fence myself?
Yes, experienced DIY homeowners can install PrimeAlux fencing using the proper tools and manufacturer instructions.
What installation methods are available for PrimeAlux fencing?
PrimeAlux fencing can be installed underground, with drivable posts, or directly on concrete surfaces.
Does PrimeAlux aluminum fencing require maintenance?
Very little maintenance is required beyond occasional cleaning and periodic hardware inspections.
How long does PrimeAlux aluminum fencing last?
PrimeAlux fencing is designed for long-term durability and is backed by a 20-year warranty.
Is PrimeAlux fencing suitable for pool areas?
Yes, PrimeAlux privacy fencing is commonly used around pools, patios, and outdoor living spaces due to its durability and privacy benefits.