How to Remove Old Caulk: Step-by-Step Guide for a Clean, Fresh Seal
Posted by Steven on February 09, 2026
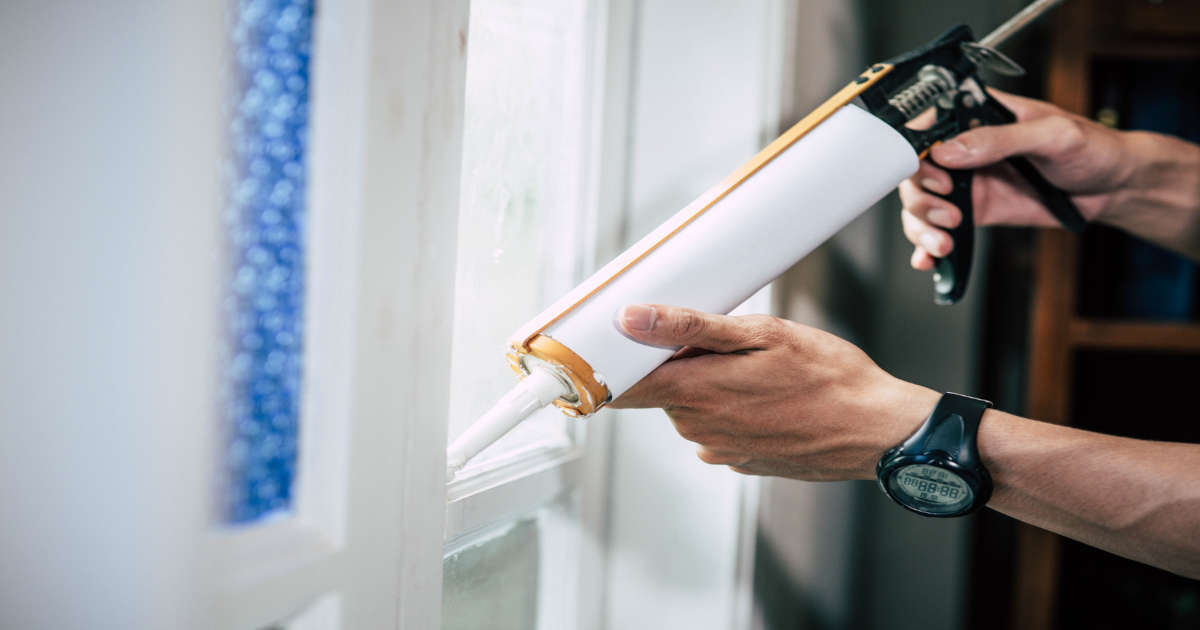 Image by jcomp on Freepik
What Caulk Is and Why It Needs to Be Replaced
Caulking is used when installing windows, doors, tiles, bathtubs, and similar fixtures. It can also be applied to repair cracks in concrete walls and sidewalks. Caulk fills gaps and joints to prevent air, water, dust, and other materials from passing through.
Although caulk is designed to last a long time, it will eventually lose its seal. Temperature changes, moisture exposure, and normal wear can all cause caulk to crack or peel away from the surface. When this happens, you'll need to recaulk the area, and before you can do that, you must remove the old caulk. Below are the steps for removing old caulk or sealant.
Step 1: How to Remove Loose Caulk Without Damaging the Surface
To remove loose caulk, use a utility knife or a caulk-removal tool to score along the edges where it meets the surface. While working carefully to avoid scratching the material beneath, pry and scrape away most of the caulk with your knife or removal tool. Take your time during this step, as removing the bulk of the caulk now will make the remaining steps much easier. You may also need needle-nose pliers to pull caulk from tight or narrow spots.
Step 2: Best Methods to Soften and Remove Stubborn Caulk
To soften any remaining caulk, apply a caulk-remover solution or a household alternative such as rubbing alcohol or vinegar. You can also use a hair dryer or heat gun to make the caulk more pliable. Allow the solution or heat to work for a few minutes, then scrape the softened caulk away with a scraper or putty knife.
Avoid using sandpaper; it will gum up immediately and create a bigger mess. Instead, continue applying heat or solvent until the material releases cleanly from the surface.
Step 3: Cleaning the Surface Before Applying New Caulk
Wipe down the area with a clean cloth to remove residue and debris. Use a cleaner such as isopropyl alcohol or a mildew-specific spray to eliminate any remaining films or oils. This step is essential to ensure proper adhesion for the new caulk. A clean surface also helps your new caulk line look smoother and last longer. Continue wiping until the surface is completely clean and dry.
Step 4: How to Recaulk for a Long-Lasting, Professional Seal
Once the old caulk is fully removed and the surface is prepared, you can apply new caulk. Make sure to select the most suitable sealant for your specific project. Some caulks are designed for high-moisture areas, while others are made for exterior use or high-temperature environments. Taking a moment to choose the right product will greatly improve the durability of your seal. To determine which sealant is best for your needs, visit our blog.
Final Tips for Successful Caulk Removal and Reapplication
When sealant wears out, it needs to be replaced, but removing it is a straightforward process. Use knives or removal tools to scrape off loose pieces, then apply cleaning solutions or heat to soften the rest. Ensure all caulk is removed and the surface is clean before reapplying new sealant. With the right tools and a little patience, you can restore a clean, durable seal that protects your home for years to come.