Spring Caulking Checklist: Where to Reseal Your Home After Winter
Posted by Steven Bieber on May 04, 2026
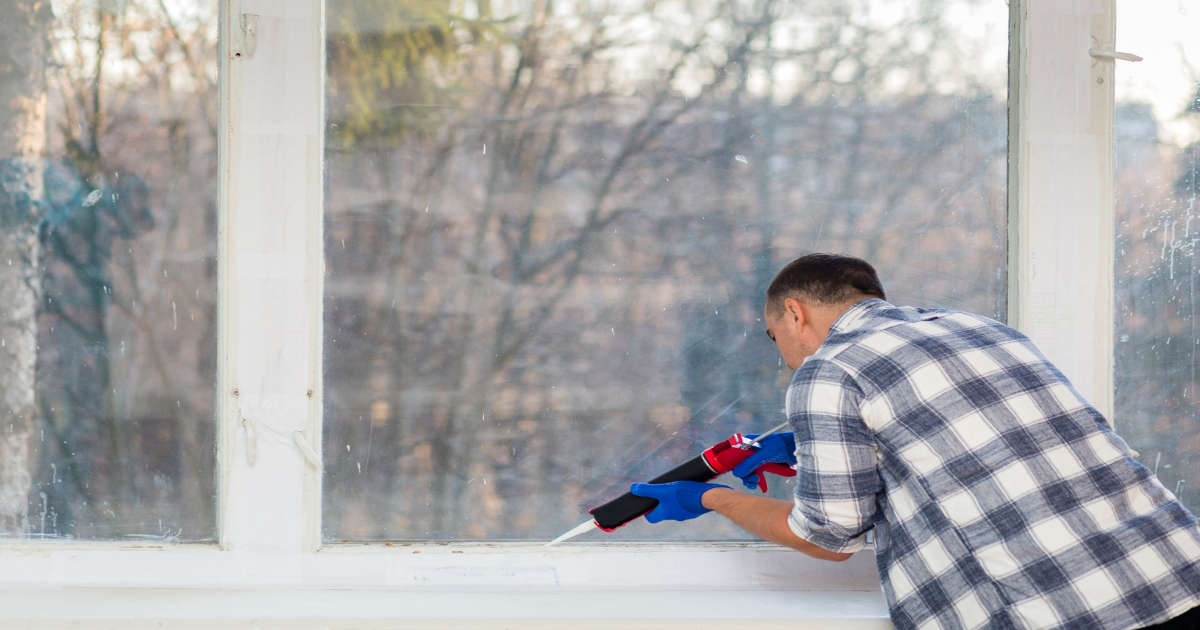 Image by freepik
Quick Summary
Winter weather can cause cracks, gaps, and worn sealant throughout your home, leading to drafts, moisture intrusion, and potential structural damage. Spring is the ideal time to inspect and reseal vulnerable areas both inside and outside your home. This spring caulking checklist highlights the most important places to inspect, including windows, doors, siding, bathrooms, kitchens, and foundations. Addressing damaged caulk early can help improve energy efficiency, prevent water damage, and reduce the risk of mold and costly repairs. With the right sealants and regular maintenance, homeowners can better protect their property year-round.
Protect Your Home from Water Damage, Drafts, and Costly Repairs
At long last, spring has arrived. With winter behind you, it’s time to take care of the maintenance your home needs to recover from months of harsh weather. Winter conditions can take a toll on your home’s exterior, especially patios, driveways, walkways, and masonry surfaces.
Freeze-thaw cycles cause concrete and masonry to expand and contract, which often leads to cracking. If left untreated, these cracks allow water to seep in, worsening the damage over time and potentially compromising structural stability.
To help keep your home sealed and protected, here are the key areas inside and outside your home that should be inspected and resealed this spring.
Exterior Areas to Inspect and Reseal
Window and Door Frames
Windows and doors are common sources of drafts and water leaks. Pay close attention to the areas around frames, trim, and where siding meets windows or doors.
When inspecting, look for gaps, peeling caulk, or hardened sealant, as these are signs that resealing is needed to prevent air and moisture intrusion. Use a sealant specifically designed for windows and doors to ensure long-lasting performance and weather resistance.
Siding and Trim Joints
Siding and trim play an important role in protecting your home from moisture and rot. Focus on the seams where different materials meet, such as wood, vinyl, aluminum, or fiber cement.
It’s especially important to inspect south- and west-facing walls, since these areas receive more sunlight exposure and often experience greater wear, expansion, and deterioration over time.
Roof Flashing and Penetrations
Roof flashing and penetrations are high-risk areas for leaks, particularly around chimneys, vents, skylights, and exhaust pipes.
Always use a roofing sealant designed specifically for exterior roofing applications. Standard caulk may not provide the durability, flexibility, or weather resistance needed in exposed roof areas.
Foundation and Masonry Cracks
Inspect your foundation for small cracks, gaps, and holes that could allow water, insects, or pests to enter your home.
Properly sealing these areas helps prevent additional water damage while maintaining the integrity of your foundation and masonry surfaces. Use a concrete or masonry sealant designed for long-lasting adhesion and durability.
Interior Areas That Need Re-Caulking
Kitchens and Bathrooms
Kitchens and bathrooms are exposed daily to water, steam, soap, and cleaning products, all of which gradually wear down sealant over time.
Inspect around sinks, countertops, backsplash seams, tubs, showers, and toilets for cracked, missing, or separating caulk. Failed sealant allows moisture to seep behind surfaces, potentially leading to mold, mildew, wood rot, and water damage.
Using a waterproof silicone sealant provides the best protection in high-moisture environments.
Baseboards and Interior Trim
Sealing gaps between walls and trim improves your home’s appearance while also reducing drafts and air leaks.
Even small openings around baseboards, crown molding, and trim can affect indoor comfort and energy efficiency. Recaulking these areas can help lower heating and cooling costs while creating a cleaner, more finished appearance.
Signs You Need to Re-Caulk
When inspecting areas inside and outside your home, look for these common signs that it’s time to replace old caulk:
- Cracking or shrinking sealant
- Peeling or separation from surfaces
- Mold, mildew, or discoloration
- Drafts near windows and doors
- Increased energy bills
- Visible water intrusion or moisture damage
Last Minute Tips for Best Results
For a stronger, longer-lasting seal, follow these best practices before applying new caulk:
- Remove old caulk completely before resealing
- Clean and dry the surface thoroughly
- Apply caulk during mild, dry weather, ideally between 50°F and 80°F
- Smooth the sealant using a wet finger or caulking tool for a clean finish
- Choose the correct sealant for the specific material and environment
Why Spring Caulking Matters
Your home’s value isn’t determined solely by the market; it’s preserved through consistent maintenance and preventative care.
Caulking is one of the simplest yet most effective ways to protect your investment. This low-cost, high-impact maintenance task helps defend against water damage, structural deterioration, pest intrusion, and energy loss.
Every crack you seal helps prevent small issues from turning into expensive repairs later. By taking the time to inspect and reseal your home this spring, you can improve energy efficiency, extend the lifespan of exterior materials, and promote a healthier indoor environment by reducing moisture and mold risks.
FAQs
How often should you recaulk your home?
Most areas of the home should be inspected annually, while caulk in high-moisture or high-exposure areas may need replacement every 3 to 5 years.
What is the best time of year to recaulk a house?
Spring is one of the best times to recaulk because mild temperatures and dry weather help sealants cure properly and allow homeowners to address winter damage early.
What happens if old caulk is not replaced?
Damaged or failing caulk can allow water, drafts, pests, and moisture into your home, potentially leading to mold growth, structural damage, and higher energy bills.