Essential Roof Safety & Prep Tips Every Pro Should Know
Posted by Steven on September 25, 2025
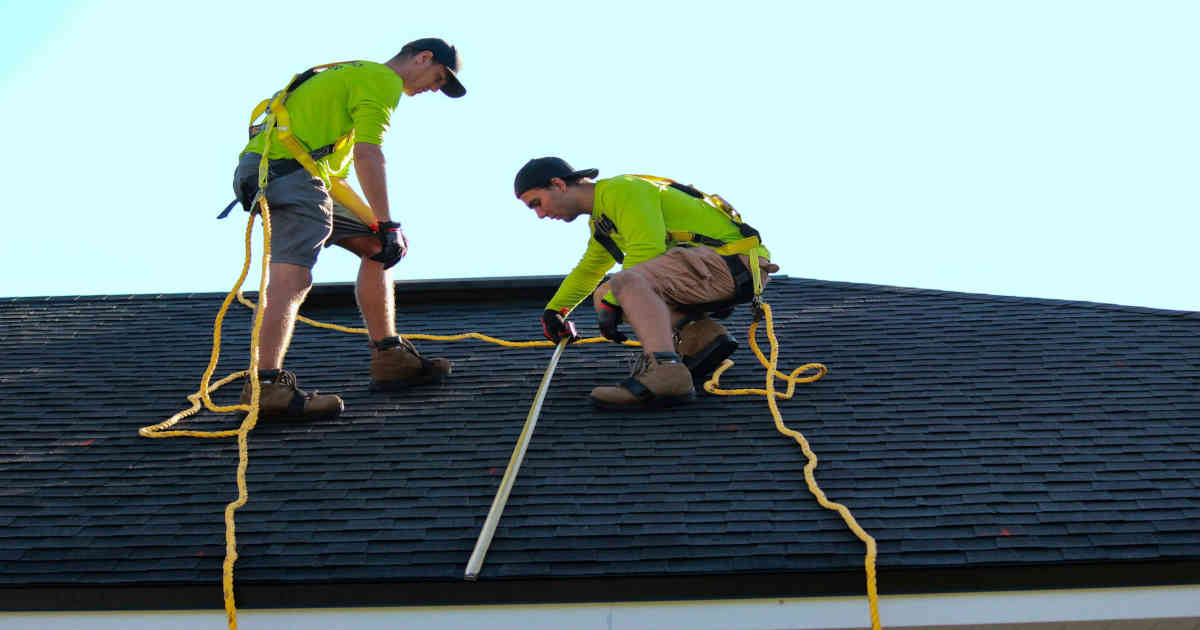
As the warm weather approaches, so do those roofing projects that have been waiting for you all winter. Even though you may be eager to get up on the roof to install underlayment, shingles, or perform other maintenance, you must ensure that you remain safe. Before you start, there is a plethora of maintenance and safety checks you need to do before the season.
Safety Harness Inspection
The first thing you should do is ensure that your safety harness is fully functional and on correctly. Inspect the D-ring, fasteners, adjusters, and other hardware for defects, deformities, corrosion, or cracks. Check for grommets that are missing, bent, or not fully secure.
After checking the hardware, inspect the straps and webbing of the harness. While visually inspecting the harness, use your hands to feel for damage. Do not use if you find loose or frayed stitching, damaged straps or webbing, or foreign objects like staples or duct tape
adhered to the fabric. Additionally, check for cuts or holes, damage from corrosives, chemicals, flames, or weld splatter, and fabric damage from paint or grease.
Essential PPE for Roofing: What to Wear for Safety
After you have your harness ready, make sure you have the proper protective gear. Wearing the right gear can prevent injuries on the roof. Personal Protective Equipment (PPE) should include non-slip shoes or roofing boots, hard hats, high-visibility clothing, safety glasses, and gloves.
Key Fall Protection Systems for Roof Safety
Make sure the roof is secure before sending a team to work. This can be accomplished by installing a fall protection system on it. Using the appropriate fall protection system is essential when working at heights. Below are some of the most effective systems:
Installing Guardrails for Roofing Safety Compliance
Guardrails provide a secure perimeter on rooftops, scaffolds, and loading docks. The top rail must be between 39 inches (0.9 meters) and 45 inches (1.2 meters) in height and withstand at least 200 pounds of force. Midrails should be installed halfway between the top rail and the surface, capable of withstanding 150 pounds of force.
Roofing Scaffolding Safety: What to Know
Scaffolds offer stable platforms for working at height. Use scaffold sets designed and assembled by a qualified person, and inspect them daily. Include adjustable poles, proper anchoring, and safety nets when necessary.
Using a Personal Fall Arrest System (PFAS) on the Roof
A Personal Fall Arrest System (PFAS) is a system that stops or arrests a fall before the worker contacts a lower level. This typically consists of a body harness, anchorage, and connector, and may include a lanyard, deceleration device, lifeline, mobile fall protection device, or a suitable combination.
How Travel Restraint Systems Prevent Rooftop Falls
The use of an anchorage, a connector, a lanyard (or other means of connection), and body support to prevent a worker from going over the unprotected edge or side of a walking-working surface.
Ladder Safety Tips for Roofers: Setup, Inspection & Usage

Once the roof is secure, use a ladder to safely access it. Keep in mind that ladder-related falls are among the leading causes of workplace injuries and fatalities. To help prevent serious accidents, follow these essential ladder safety guidelines:
Use the Right Ladder
Select a ladder that is appropriate for the task, considering your weight and the weight of any tools and materials. Use a ladder tall enough so you don’t have to stand on the top three rungs.
Ladder Inspection Checklist: Before and After Use
Inspect your ladder before and after use.
Before use:
- Check the ladder’s stability.
- Inspect screws, bolts, and hinges to ensure they are tight and that the base of the ladder is secure.
- Check for debris, such as dirt, grease, or paint, that could cause slips and falls.
- Remove damaged ladders from service.
- Keep your ladder away from electrical wiring.
After use:
- Check the steps, side rails, rungs, and supports for new structural damage.
- Recheck the ladder’s stability.
- Look for bends and loosened screws, hinges, and bolts.
Proper Ladder Setup for Safe Roof Access
Place your portable ladder on a level surface and ensure it has non-slip base pads. In high-traffic areas, protect the base of the ladder with a barricade. Block or lock any nearby door that opens toward you. Ensure your stepladder is fully open before use. Straight ladders should be placed in a four-to-one ratio, which means the base should be 1 foot from the wall for every 4 feet of height to the point of support. When climbing onto a roof, the ladder must extend at least 3 feet above the edge and be tied off at the top.
Climb the Ladder with Caution
While climbing or descending the ladder, stay near the middle and face the ladder while holding the side rails with at least one hand. Carry tools and supplies with a belt or ladder hoist and keep three or more limbs on the ladder. Look out for overhead power lines.
Ladder Safety Do's and Don'ts for Roofing Jobs
- Do not lean outside the ladder rails.
- Keep the ladder and the surrounding area free of clutter.
- Do not use a ladder for other purposes. Never use a ladder horizontally like a platform.
- Never carry loads that prevent using at least one hand on the ladder.
- Do not stand on the top step or the top cap, or overload.
- Do not place a ladder on boxes, barrels, or other unstable bases.
- Do not move or shift a ladder when someone is standing on it.
How to Maintain Your Roofing Nailer for Optimal Performance
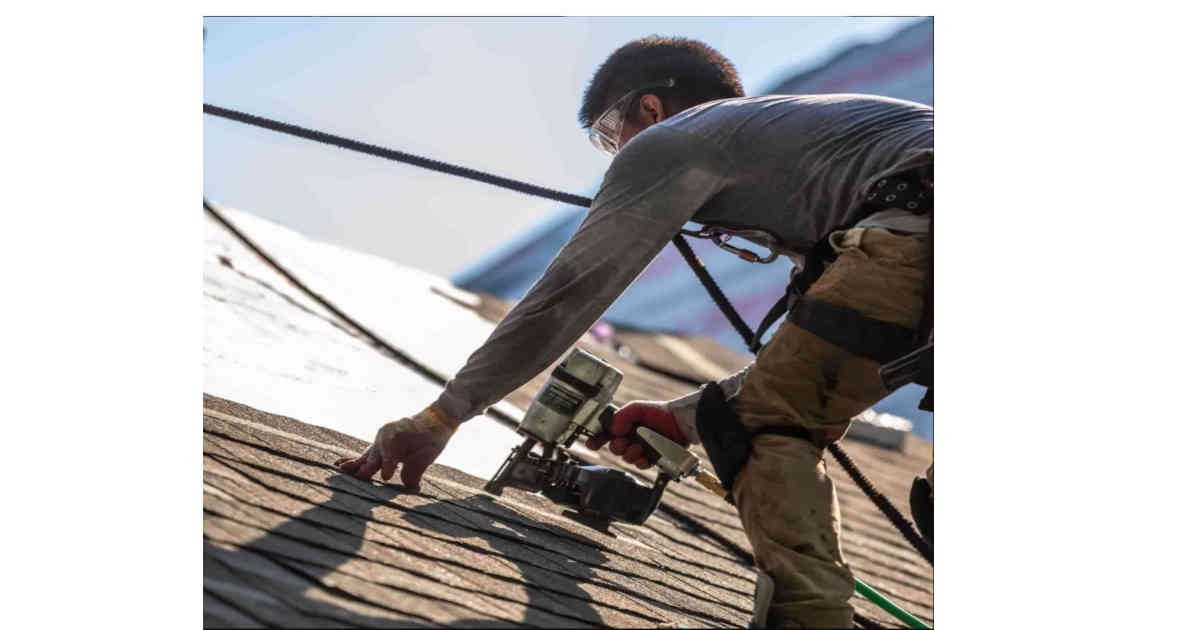
While working on a rooftop, you cannot afford to have your equipment and tools fail on you. Take the time to fix and maintain your tools. The perfect time to perform maintenance on your pneumatic roofing nailer is during the winter months when roofing projects slow down. When conducting your inspection, check for loose screws, ensure the trigger and safety mechanisms move freely, clean the feed system, lubricate the air fitting, and drain accumulated moisture from your compressor. Below is a quick maintenance check for your nailer. This will require full disassembly.
- Inspect Driver Blades - Remove the blade and check for chips, cracks, or dents. A damaged blade may not deliver the proper countersink.
- Replace Damaged O-Rings - Pneumatic tools contain several O-rings that can be damaged by moisture. Make sure they are not ripped, cracked, or pitted, as this can cause a faulty seal and compromise performance. If your tool uses oil, oil it and fire it a few times during the winter to keep the O-rings from drying out.
- Ensure the Piston Stop is Intact - This stops the piston from retracting back into the cylinder once it has been fired. Because of the force it absorbs, it will fracture or degrade over time. Replace the piston stop if it is cracked or torn. This will require a screwdriver.
- Clean the Cylinder Sleeve and Drive Track - Ensure it is free of debris, dust, and scratches.
- Check Air Compressor - Pneumatic tools only work if your air compressor does; regularly check the oil levels. Low oil levels will harm the compressor pumps. Keep the filters clean to avoid airflow extraction. Lubricate moving parts in the motor, gearboxes, and bearings.