Roof Tarping Tips to Guard Vulnerable Areas This Rainy Season
Posted by Steven on September 17, 2025
Why You Might Need to Tarp Your Roof During Storm Season
When storm clouds roll in, the last thing you want to worry about is water pouring through your ceiling. Heavy rain, high winds, and flying debris can all put your roof at risk.
When damage strikes, quick action is critical. That's where roof tarping comes in. Tarping a roof is a great way to provide a temporary patch when your roof is damaged. Construction workers may do this when a storm is approaching or a damaged roof can be covered in preparation for more severe weather. Intense storms or hurricanes can cause severe damage to homes and buildings. In these situations, it may take time for roofing companies to repair your roof properly. Failing to cover a damaged roof can lead to water leaks and further structural issues.
Is DIY Roof Tarping Safe? When to Call a Professional
In most cases, it's better to leave this job to a professional. A poorly installed tarp can cause more damage than the storm itself. However, to protect your roof from additional harm, it's helpful to understand how tarping works. This knowledge allows you to spot mistakes or, if necessary, tarp the roof yourself.What to Check Before Covering Your Roof With a Tarp
To start, assess the damage to determine exactly what needs to be covered. Parts of the roof with damaged flashing, sagging areas, fallen tree branches, gaps, or broken or missing shingles should be covered by a tarp. You can also check inside your home and attic for signs of water leaks or sunlight. Some contractors even use drones to analyze the roof from above.
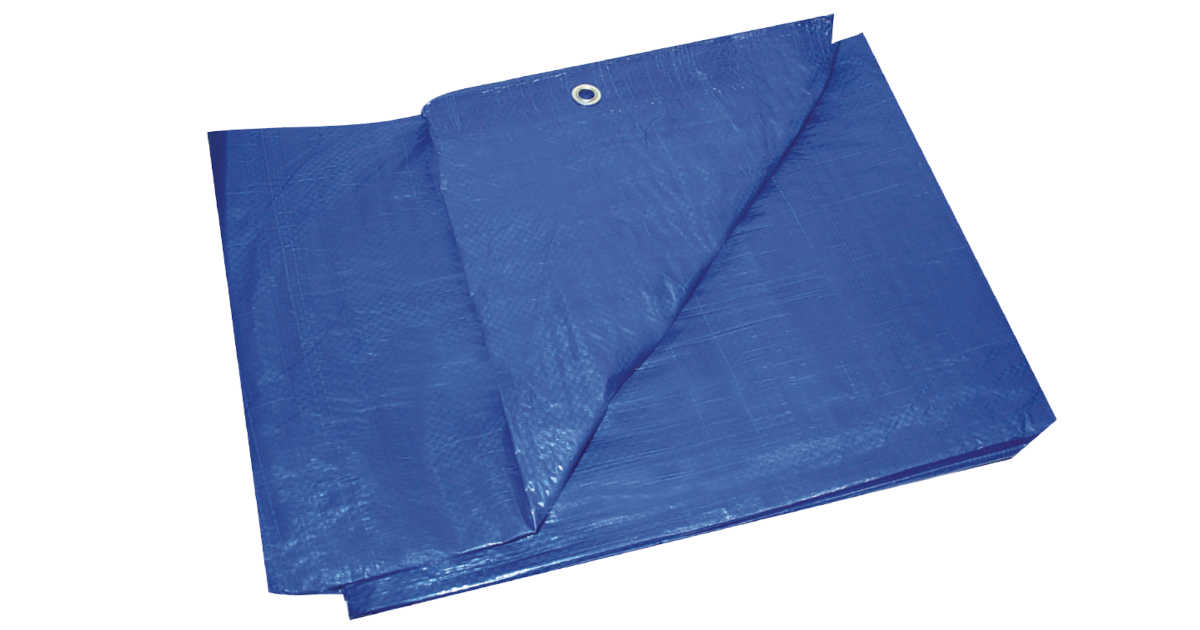
Choose the Right Tarp for Roof Leak
Not all tarps are created equal, and when it comes to protecting your home from rain and wind, the right material makes all the difference. A thin, flimsy tarp might hold for a few hours, but under storm conditions it can rip, shift, or let water seep through. That’s why it’s worth investing in a heavy-duty option designed specifically for roofing emergencies.
One reliable option is the Roofer's Choice Blue Tarp. Built to handle tough weather, this tarp is strong and easy to clean. Its reinforced edges and rust-resistant grommets make it easier to secure tightly. And once your roofing repairs are complete, this versatile tarp can be reused as a boat cover, truck bed cover, firewood protector, or even a windbreaker for outdoor areas.
Essential Tools and Safety Gear for Tarping a Roof
After assessing the damaged area, gather the following tools:
Stay Safe While Tarping: Roofing Safety Precautions
As mentioned earlier, it’s best to leave roof tarping to professionals. Roofing contractors carry specialized insurance and often invest in fall protection systems, which can be costly for the average homeowner.
If you choose to do it yourself, recruit one or two people to help. More hands are better; never attempt to tarp a leaky roof alone. Do not attempt this task if it is rainy, windy, or stormy. Also, avoid baggy or loose clothing that could get caught on roofing materials or structures.
How to Secure a Tarp on a Roof - Step-by-Step Instructions
Follow these steps to tarp your roof effectively:
- Measure the Area: Use a tape measure to determine the size of the tarp needed. Be sure to measure beyond the damaged area; the tarp should extend four to five feet beyond the damaged section to prevent rain from blowing underneath.
- Clear Debris: Remove any branches, leaves, nails, broken shingles, or other debris before placing the tarp.
- Position the Tarp: Lay the tarp over the damaged area. You can weigh it down with sandbags or secure it using wooden boards. Wooden boards are generally preferred because they offer a more secure hold.
- Fasten the Tarp: Wrap the edge of the tarp around a board and secure it with long nails. Some roofers avoid this method as it may tear the tarp, but using a heavy-duty tarp can prevent this. Alternatively, you can tie ropes to the tarp's grommets and anchor sandbags to the ground or around chimney bases. Roofing tape can be used along the edges for extra hold.
How to Secure a Roof Tarp So It Stays in Place
Make sure the tarp is tight and flat against the roof with little to no gaps. Any space between the tarp and the roof can allow water to seep in. If using wooden boards, install them perpendicular to the roof ridge to help shed rain and snow more effectively.
Avoid These Common Roof Tarping Mistakes
Avoid these frequent errors when tarping a roof:
Using a Low-Quality Tarp
Choose a thick, durable tarp that can withstand wind, rain, and impacts. A thin tarp may allow moisture to penetrate or tear easily.
Poorly Securing the Tarp
If the tarp isn't secured correctly, it can blow off in strong winds. Never nail the tarp directly to the shingles without using boards; it won't hold, and it could cause more damage.
Leaving the Tarp on Too Long
A tarp is only a temporary fix. It should remain in place for no more than three months. If repairs are delayed and the tarp deteriorates, it may need to be replaced. Check it 24 hours after installation and inspect it monthly.
How Long Can You Leave a Tarp on Your Roof?
Roof tarps are not meant for long-term use. Most experts recommend leaving them in place for no longer than 90 days. Beyond this period, exposure to sun, wind, and rain will weaken the tarp and reduce its effectiveness. If repairs are delayed, be sure to monitor the tarp regularly and replace it if needed.
Final Tips: Protect Your Home Until Roof Repairs Are Done
When disaster strikes, covering your leaky roof with a tarp can prevent further damage. Start by inspecting the affected area, clearing debris, and measuring for the correct tarp size. Always follow safety precautions to reduce the risk of injury. When in doubt, call a professional. If you choose to do it yourself, make sure the tarp is secured tightly and effectively using boards or sandbags. Remember, this is only a temporary measure. Schedule a proper roof repair as soon as possible.
BONUS TIP: If you live in a windy area and don't have immediate plans for a full roof repair, consider using a roof repair sealant. Sealants create a waterproof barrier that's far more durable than tarps, often lasting for years rather than months. At Home Improvement Supply, you'll find several budget-friendly roof repair sealant options, many of them even more affordable than tarps, making them a smart choice for both protection and savings.