Installing Deck and Porch Railing
Posted by Steven on February 18, 2025
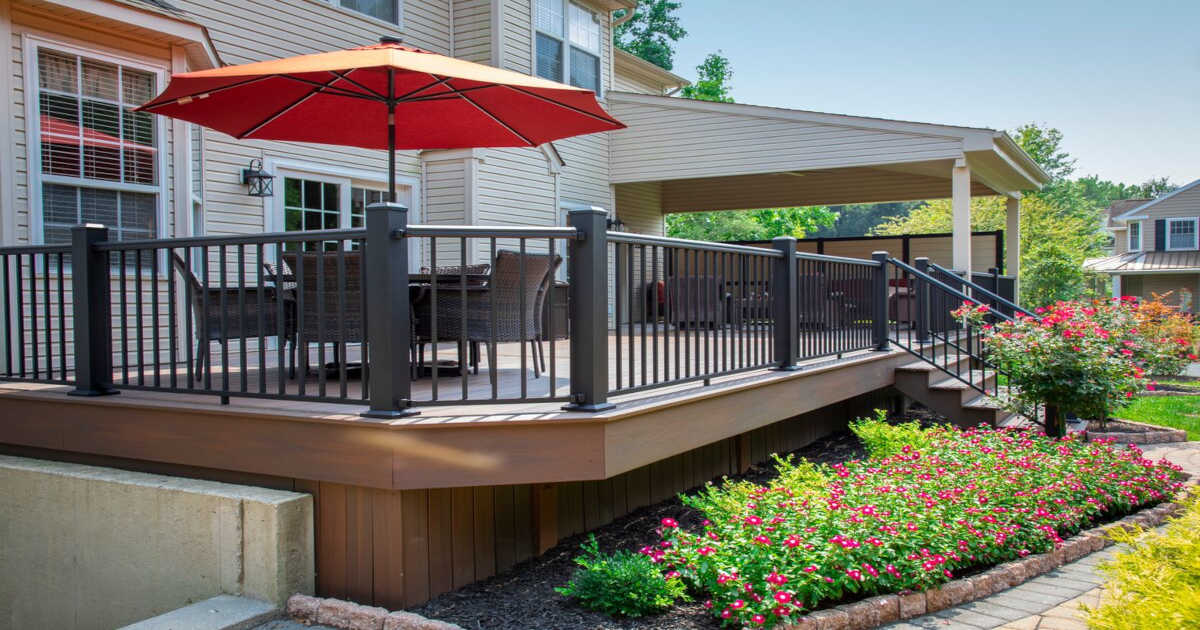
Installing deck railing can provide your outdoor living space with several variants. It can expand your outdoor space for birthdays, barbecues, and other family gathers. A properly built deck will increase your home’s value and aesthetic appeal.
Deck railing can also serve as a safety feature. It can prevent falling accidents with children, elderly residents, or pets. Depending on building codes and regulations, you may also be required to build a railing on a deck above a certain height. Follow our step-by-step process to install your deck railing.
Tools & Materials You'll Need:
1. Install the Posts
Preparation
Before you install the railing, you need to determine the number of posts you will need. Depending on the size of your deck and the rail sizes you are using, you will need one post at each corner and at least one post between them. You will also need a post every 4, 6, or 8 feet.
Most building codes require railings between 36 and 42 inches high. Aluminum and PVC posts are typically sold at heights that match their respective railing kits, but they can be cut to size if needed. With wood, measure each post and cut it to the desired length. For visual appeal, measure cut the post an inch or two higher than the railing.
Cut an Overhang
This step is for wooden posts only! You need to cut the posts to have an overhang. Mark a line several inches up the side of the bottom. For your 4x4 posts to hang 4 inches over the edge of your deck, draw a line 2 inches from the midpoint of one side of the post. A second line should be drawn perpendicular to the first line. Cut along the lines you drew with a saw to remove a 2-inch by 4-inch section of the post.
For wooden posts and rails, apply finish before installing. This is not necessary for steel, aluminum, PVC, or composite, as they are designed to be maintenance-free.
Instead of an overhang, you can also have the post go through the deck and into the ground.
Mount the Posts
Hold the post in place and drill in the screws. For wood, use a drill to form pilot holes through the overhang into the deck joists. Next, drill screws or carriage bolts into the pilot holes. For posts made of other materials, attach the post to a base place and drill the base plate into the deck using fasteners. To finish the look slide a post base trim (optional) over each post. This process is similar to a sleeve that goes over the wooden post. Use a level to make sure the posts are straight.
2. Prepare Balusters
Cut the balusters to the height you want the railing to be. You will need several balusters for the railing because they should be no more than 4 inches apart. For wood, you will need thin strips of wood to attach them. Other materials require a baluster connector for the top and bottom rail. Certain railing kits will have the balusters already attached. 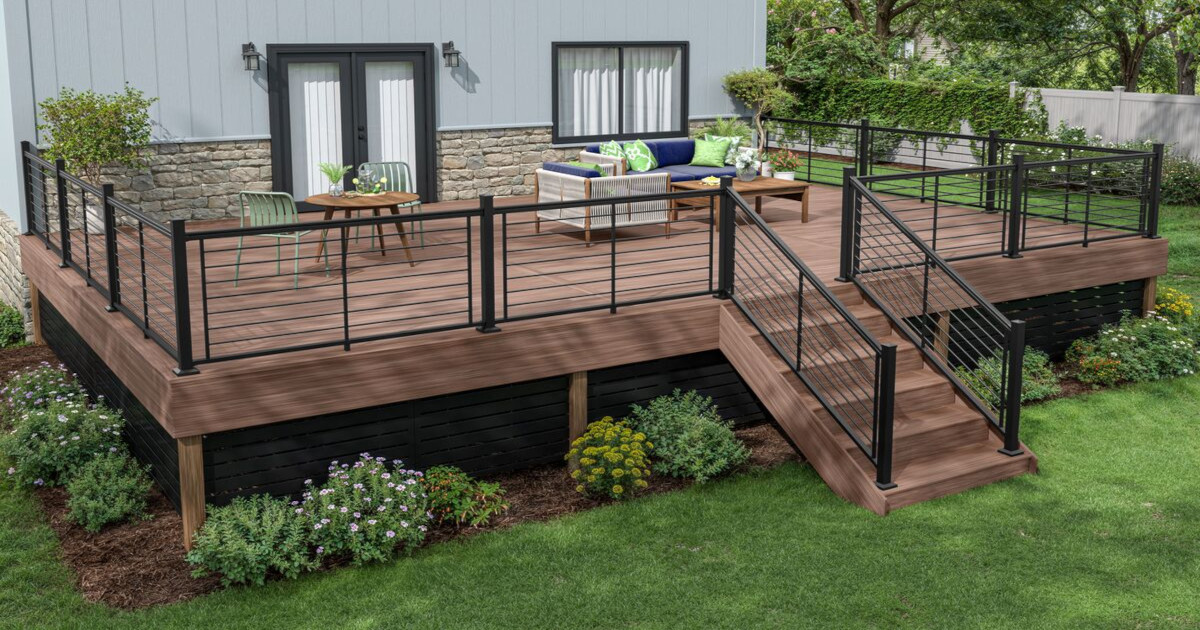
Install Balusters
Position the wooden balusters and attach them to the strip. Most buildings require the balusters to be 4 inches apart or less. Attach the first baluster on each side three inches from the edge. Measure 3 inches (or desired length) and position the balusters and screw them in. Attach another thin strip of wood on the other side of the balusters. These are screwed into the top and bottom rails after the rails are attached to the posts.
To attach nonwood balusters on wood rails screw adaptors to the rails and secure the balusters with screws or sealants depending on the installation instruction of the particular balusters.
Nonwood railing may have slots to attach balusters. You can also purchase preassembled railing kits that have balusters already attached to the rails.
3. Installing the Rail
Measure the distance from post to post, and make sure your rails are cut to the appropriate length. After that, you are ready to secure the bottom rail to the posts.
To hold up the bottom rail, have someone hold it or use wooden scraps. Pre-drill holes at an angle through its bottom, toward the posts. Secure the posts by driving long screws through these holes. If applicable this is where you would set the baluster assembly on the bottom rail and drive screws through the thin strip.
Lay the top rail over the balusters and drive a few screws through the strip into the bottom of the top rail. For other materials, the top and bottom rails may snap into place, or use brackets for installation.
4. Repeat the Process
Repeat this process for the other sections of the railing. Whether you purchase a product from RDI, TimberTech, Westbury, Superior Aluminum, or DecKorators, remember to check the specific installation instructions for that brand because the installation process may vary.
You should be ready to install the deck railing on your own.